Acquiring Images Using SimplePCI with the OrcaER (b/w) or MicroPublisher
(color) camera
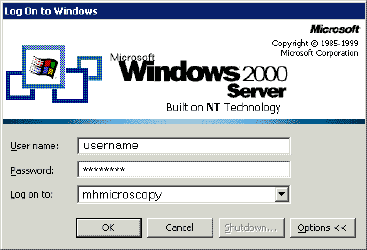
- Log on the computer
- enter username (and press tab to move to-)
- enter password (case is important)
- choose domain MHMICROSCOPY (not local computer
e.g.
FRESNEL)
-
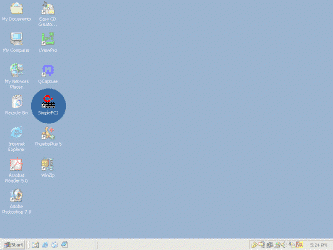
- Start SimplePCI
- ensure OrcaER camera control box is powered on before starting SimplePCI
- run SimplePCI (C-Imaging)
-
-
-

- During SimplePCI startup a warning box will appear
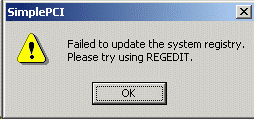
- Press OK or ignore messages concerning registry
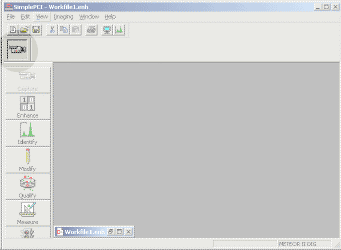
- Main SimplePCI window will appear
-
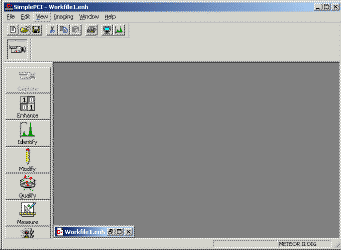
- Start Capture mode in SimplePCI
- Double click on camera icon
-
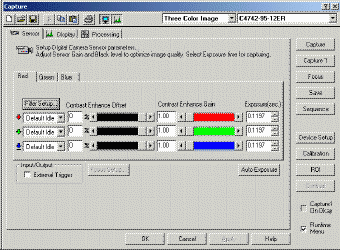
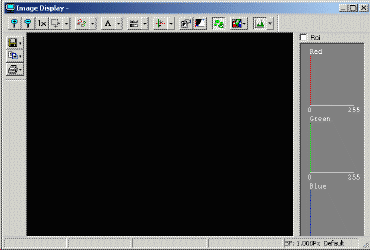
- Two additional windows will open
- The capture box window (for camera control)
-
- The Image Display window
-
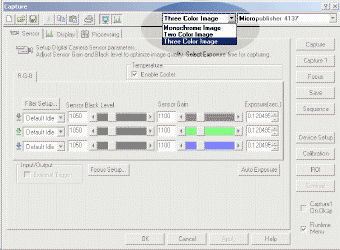
- Ensure desired camera is chosen in top right selection box (01)
- Hamamatsu for black and white (fluorescence)
- MicroPublisher for color
-
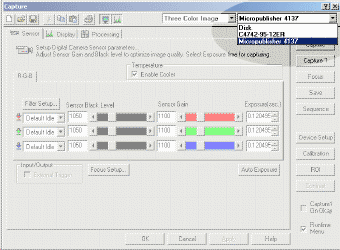
- Choose number of color channels (02) e.g. for
MicroPublisher (usually Three Color Image)
-
- Ensure fluorescent or transmitted light is on at the microscope and
camera port is open
- Press focus button, which starts rapid acquisition of an image to
the display window (03)
-
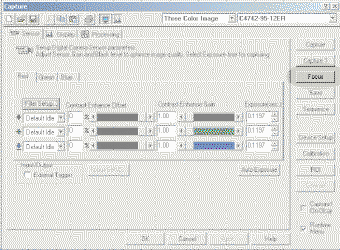
- Increase or decrease exposure time in order to get an image (03)
- for fluorescence it may be desirable to increase camera gain to
maximum (04) and decrease exposure time in order to make focusing easier.
Note that image may be noisy. Black level should not be changed
- Focus while viewing image on monitor
- If desired, return camera gain to 1 (04) and increase exposure (03) in order to
reduce noise
- Press stop (05) or abort
-
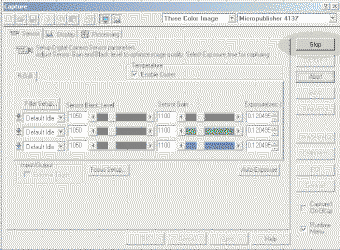
- Press capture 1 (06) to acquire - to ensure exposure is
correct, check intensity histogram
-
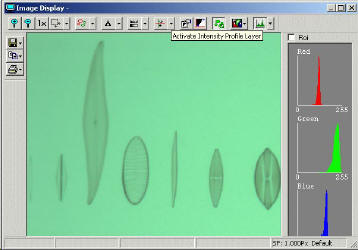
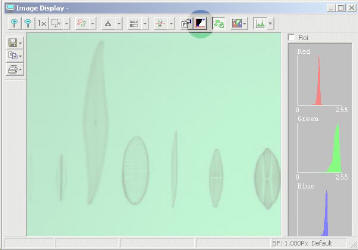
- For transmitted light views captured taken with the MicroPublisher
camera, the image will have a greenish hue. This is technical issue due to the MicroPublisher being a Bayer Filter
color CCD chip
- The hue can be corrected by doing an autocontrast (10)
-
- Uncheck locked (11)
-
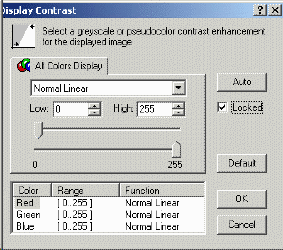
- Hit auto (12)
-
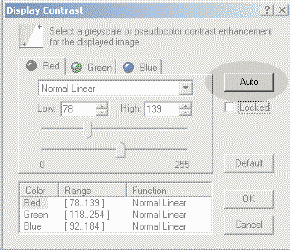
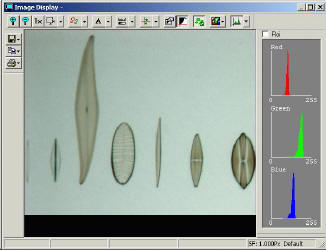
- Image will have a better color balance. Corrected balance will be
applied to subsequently captured images until the auto contrast
button (10) is clicked off
-
- Saving the image
- To save the color corrected image - right mouse click on image (or hot
the floppy icon, 20)
-
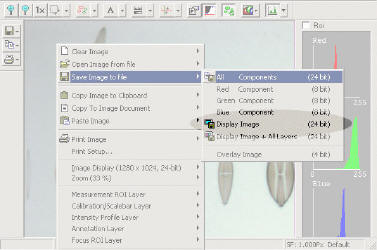
- Then hit Save Image to file
---> Display Image and choose file name and save as Tiff
-
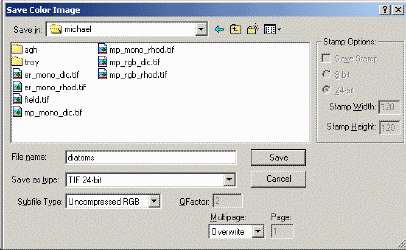
- To save to uncorrected image - right mouse click on image (or hot the
floppy icon, 20) , then Save Image to file
---> All components and choose file name and save as Tiff
- Shut down SimplePCI and log off when you are finished


